
The Best way to Install Linux!
In this post, I am going to share with you the best way to install Linux. Well, it might not be the best way in the world but it works for me and some of these steps are actually in Ubuntu’s documentation on how to get Linux installed.
To follow along with this tutorial you will need
- USB flash drive with at least 4 gigs of available space.
- A Linux ISO file for this tutorial I am going to be using Ubuntu
- Balena Etcher to write the iso to a USB drive
- A computer to install Linux on
URLs needed:
- https://ubuntu.com/#download Linux ISO file download
- https://www.balena.io/etcher/
Downloading the Linux ISO
The first thing we will need to do is to download the Linux ISO file, use your favorite web browser, and head on over to the Ubuntu download page.
- Click the download menu item at the top of the Ubuntu home page
- Under Ubuntu Desktop click the green 22.04 button.
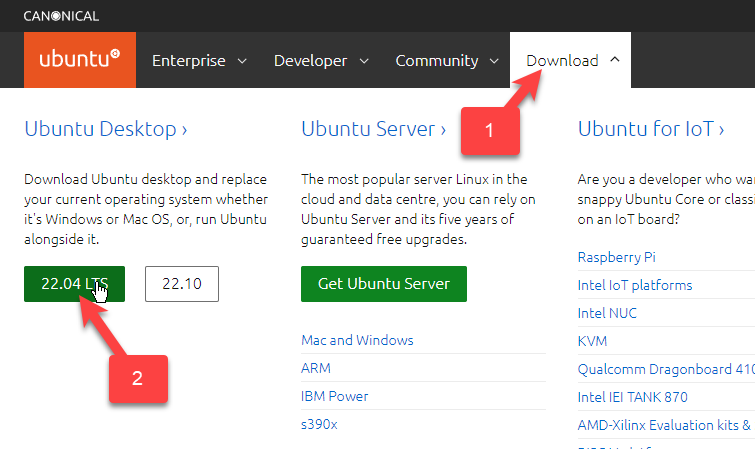
You will be taken to another page and the download should begin automatically. This download can take a while to finish depending on your internet bandwidth.

Downloading and Installing BalenaEther
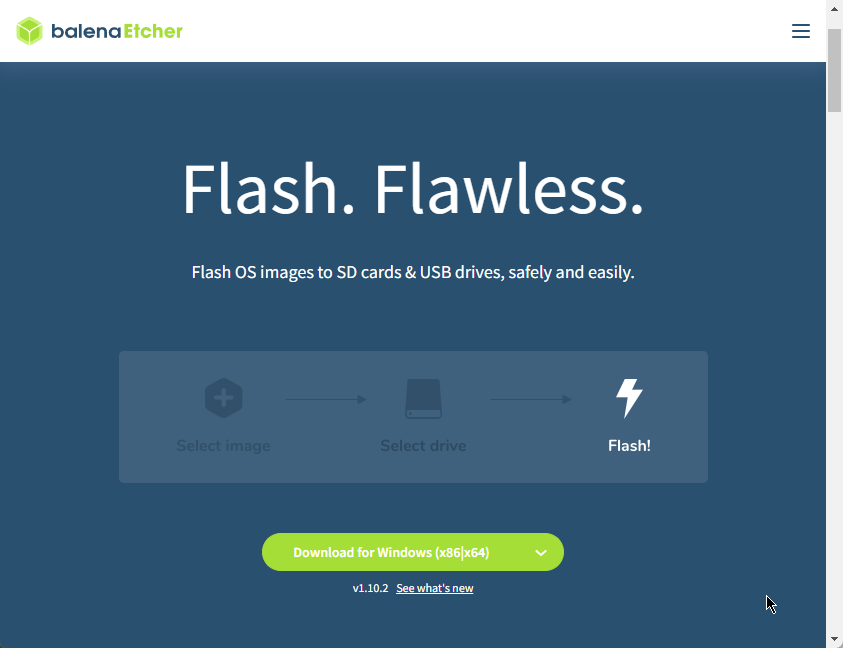
The next step is to download and install BelenaEtcher. This is the tool you will need to write the Linux ISO file you just downloaded to your USB thumb drive.
Head on over to balenaetcher.io and click the green download button, it should automatically download the correct install file for the system you are using. If you are on a windows system it will take you to a windows download if you are on a Mac device it will take you to a download for the macOS, and the same for Linux.
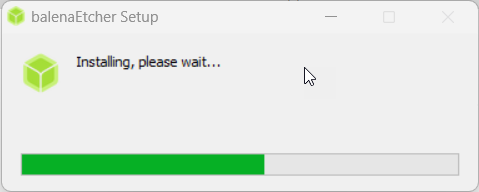
Once the download has finished, navigate to the location where you downloaded it. In my case, it was downloaded to the downloaded folder.

The install will begin.
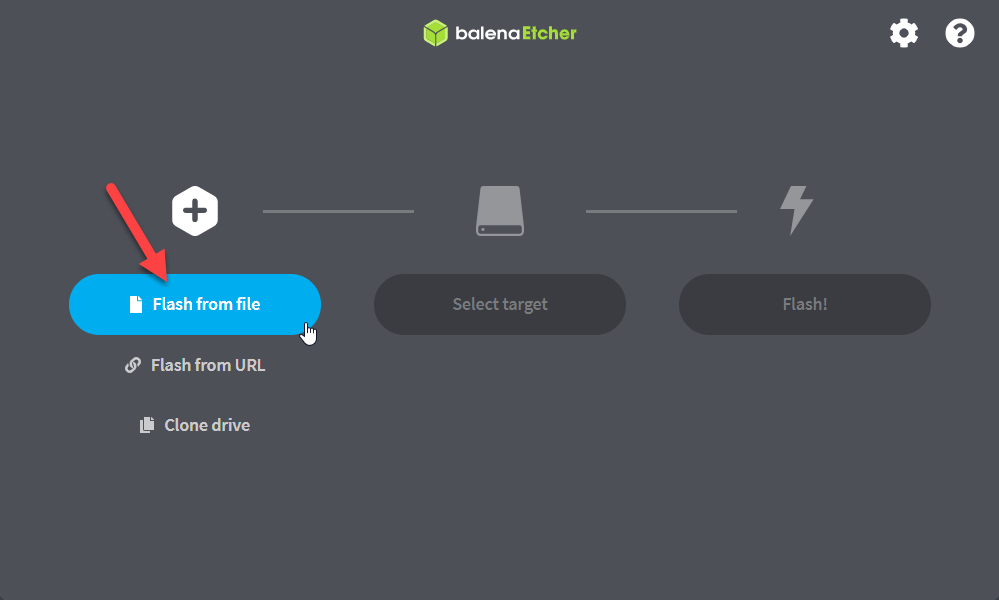
When the installation finishes balenaEtcher will open.

Creating a Bootable Linux Flash Drive.
Now that balenaEtcher is started click on Flash from file, this will open up file explorer.
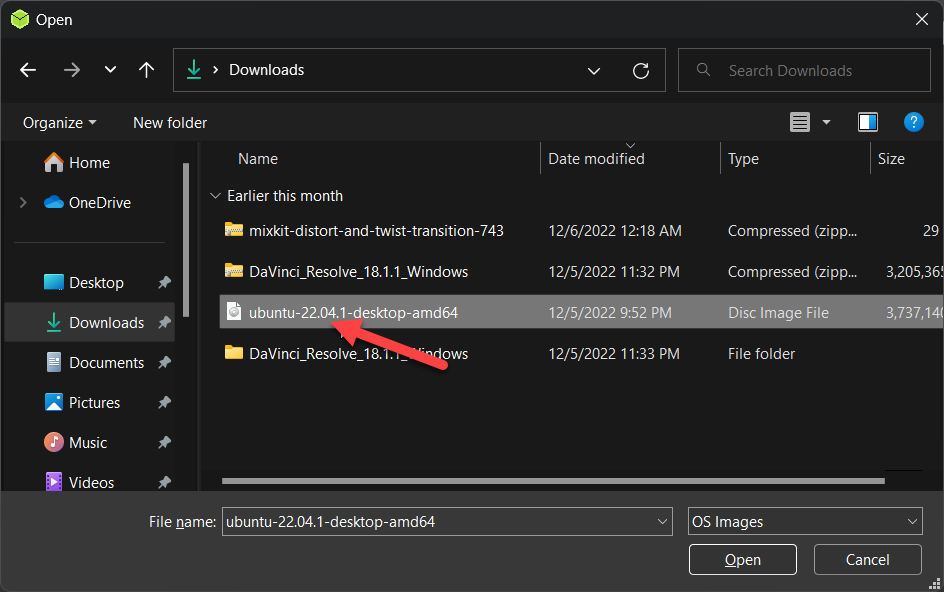
Browse to where you downloaded the Ubuntu ISO file, in this case, it is in my downloads directory. Once you locate the file double click it, or highlight the file and click the open button.
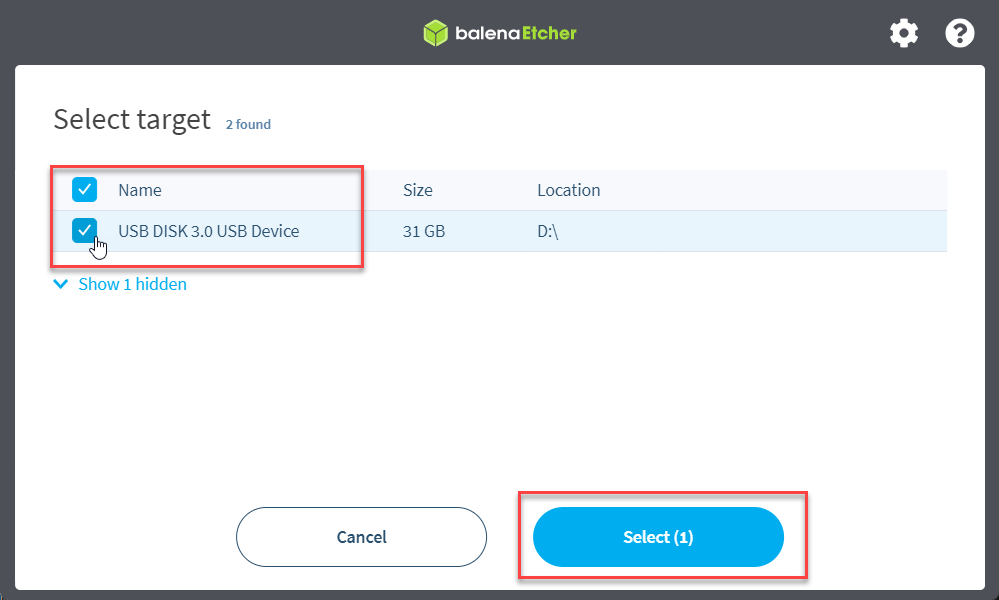
At this next screen select the USB drive that you want to write the files to. Click the select(1) button.
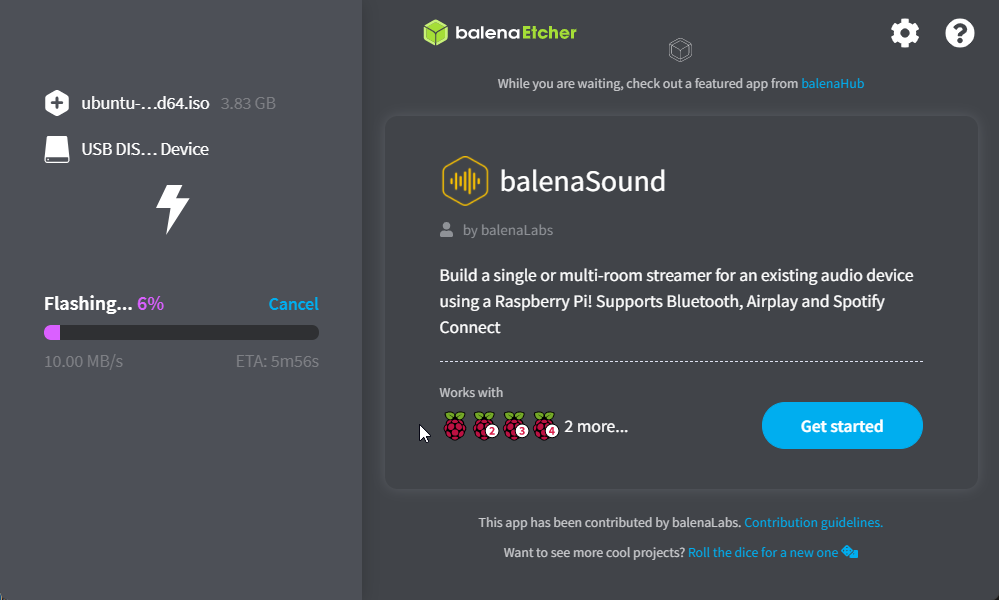
Now we can finally write these files to the USB drive, click the Flash! Button.

The flashing process will begin. This can take some time; it all depends on the speed of your computer and how fast it can write to a USB Flash drive.
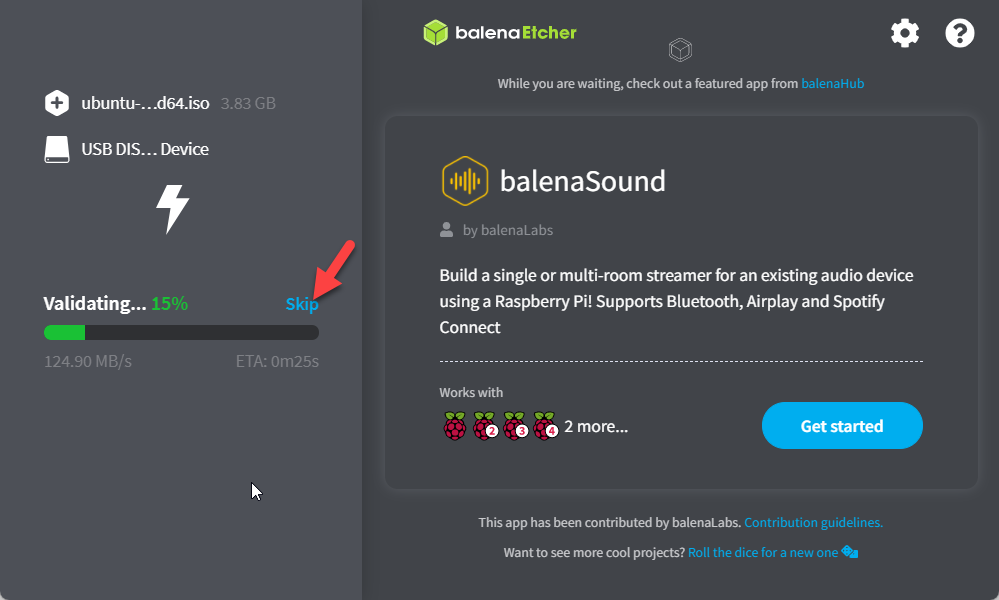
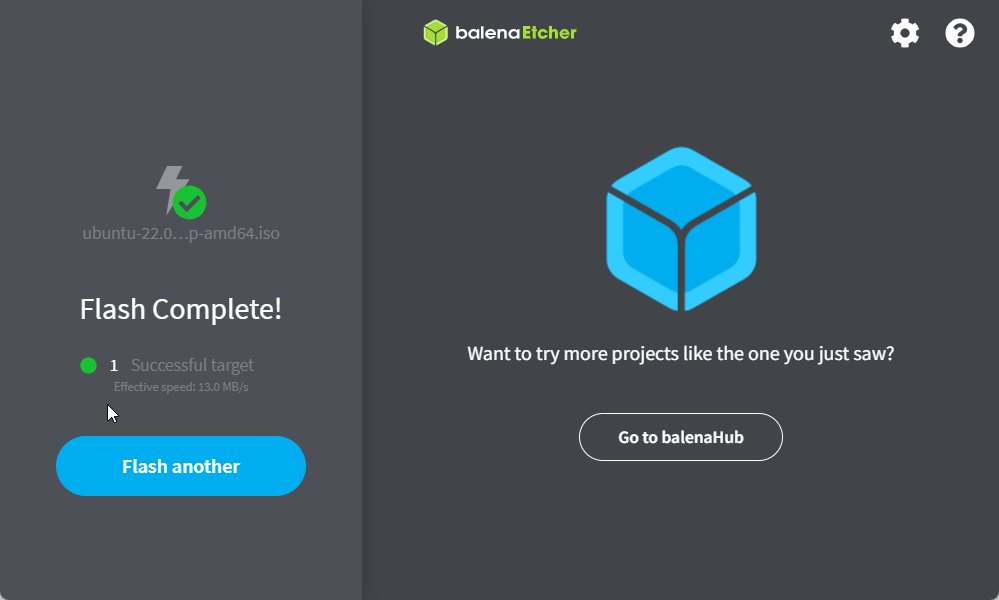
Once it finishes flashing it will start validating the new bootable flash drive. If you don’t want to wait for this to finish you can click the blue skip button.
You will see this screen once the process is complete. We can now move on to installing Ubuntu.
Install Linux.
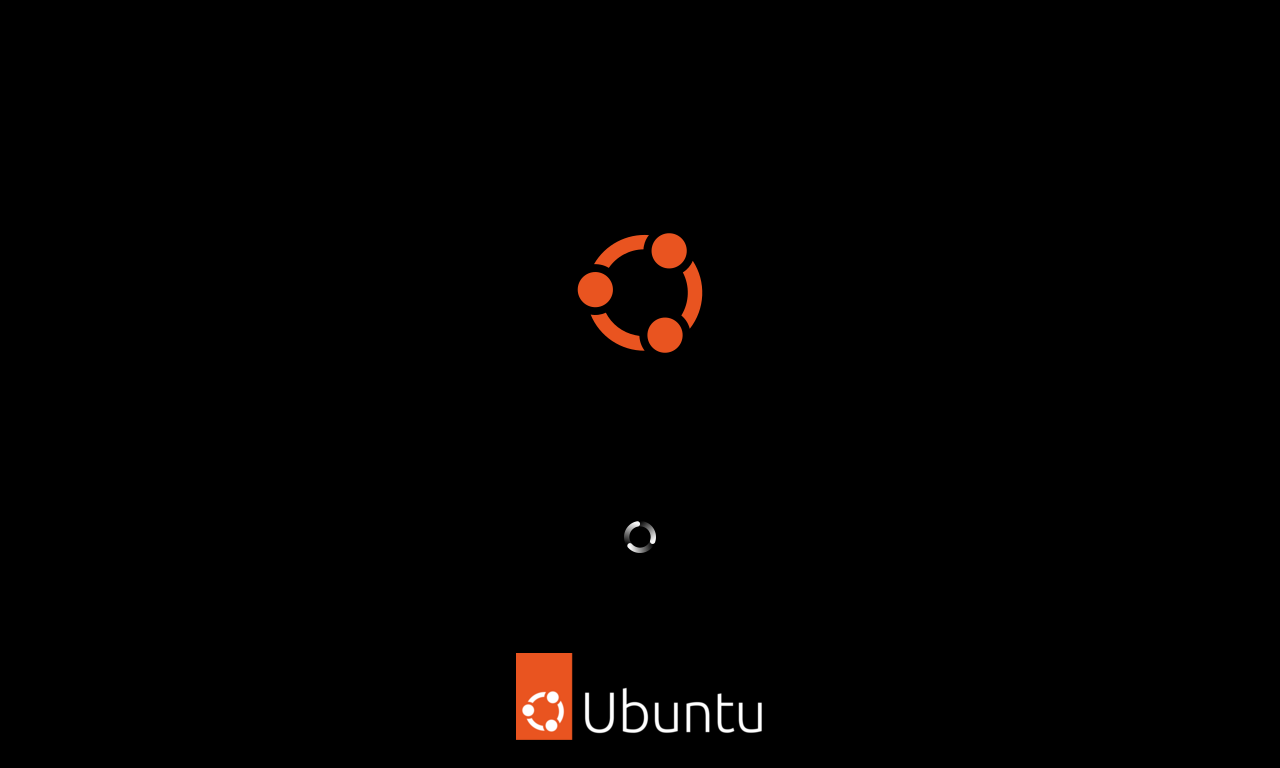
Now that you have created your Ubuntu installation media go ahead and plug your USB drive into your computer. You will want to make sure your system is turned off and then turn it on again with the USB drive still plugged into your computer. Once your computer is booting you will need to start pressing whatever key on your keyboard will get you to your systems boot menu, this will let you pick which drive your system boots to. You may need to look up instructions from your computer manufacturer. Once you select the correct drive to boot from you should see the Ubuntu boot screen.
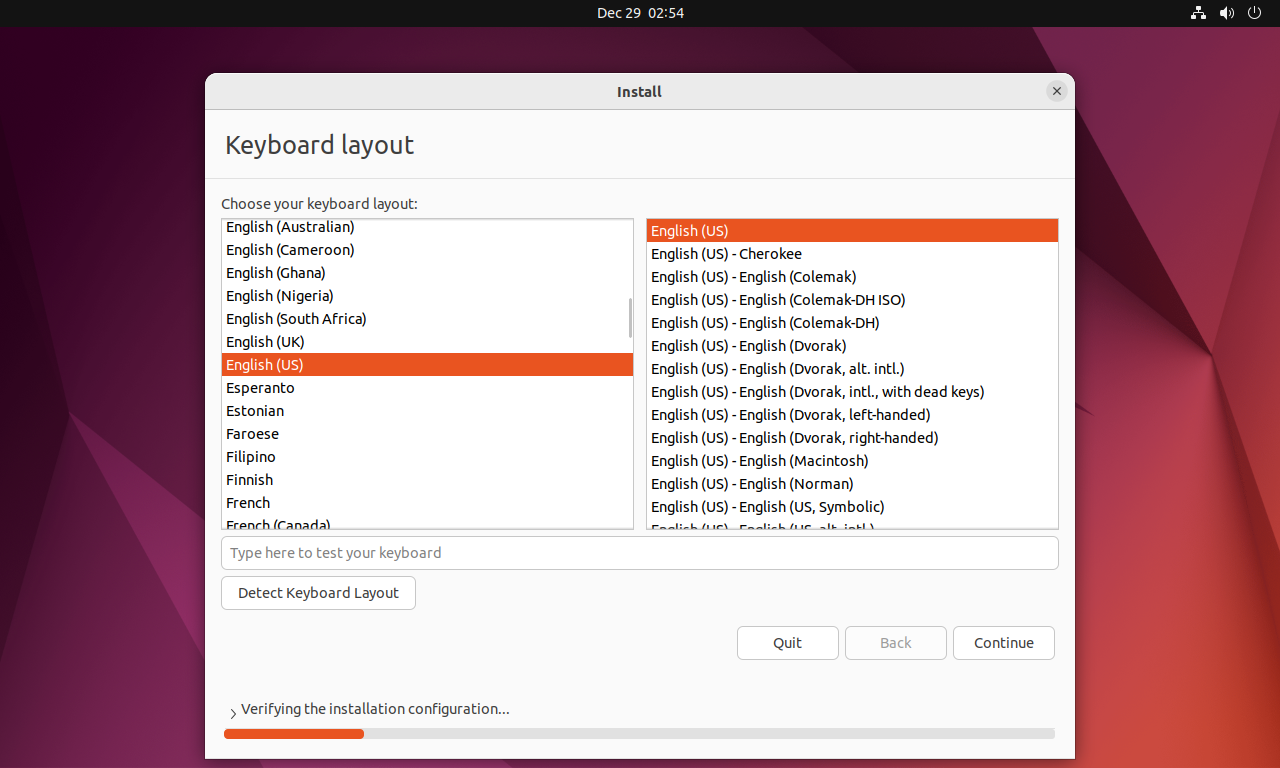
Once Ubuntu loads you will be prompted to choose your keyboard layout, be sure to choose your correct layout. Once your preferred layout is selected click the continue button.
On this next screen, there are some options we get to choose from.
- Normal install will install default applications, utilities, office software, games, and media players
- Minimal will install just a browser and essential utilities needed.
The second set of options are checkboxes, check the download updates to install necessary updates during the installation process. The other option is to install third-party software for graphics cards and some other hardware. Once you are satisfied with the options you picked go ahead and click the continue button.

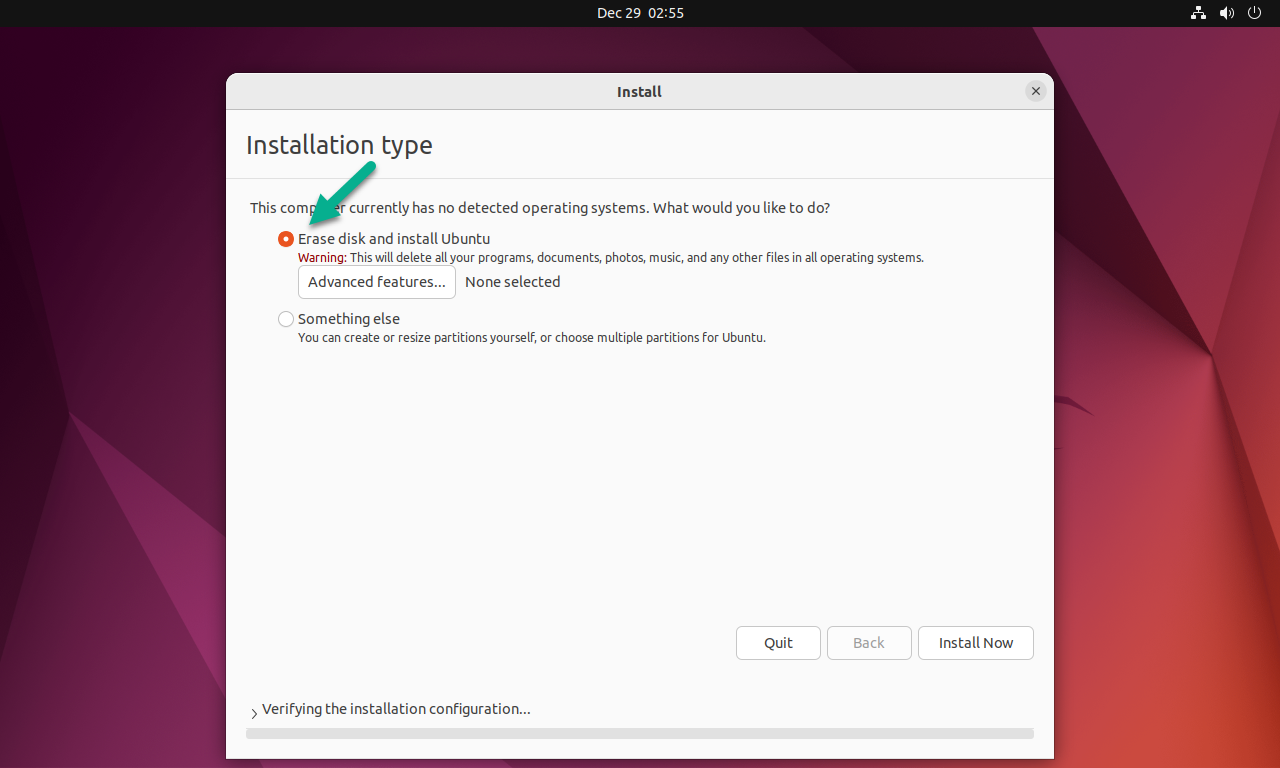
On this next screen, we get to choose how we install on our HDD, in this tutorial we are going to choose Erase disk and install ubuntu. This option will erase anything on your hard drive so if you have anything important on it, back it up somewhere else. The other option “something else” should give you some more options that will let you install Ubuntu alongside Windows, but we are not going to cover that option in this tutorial.
So select erase Disk and then click the install now button.
You will get a message that is just a warning, it is warning you that everything on the selected disk is going to be overwritten.

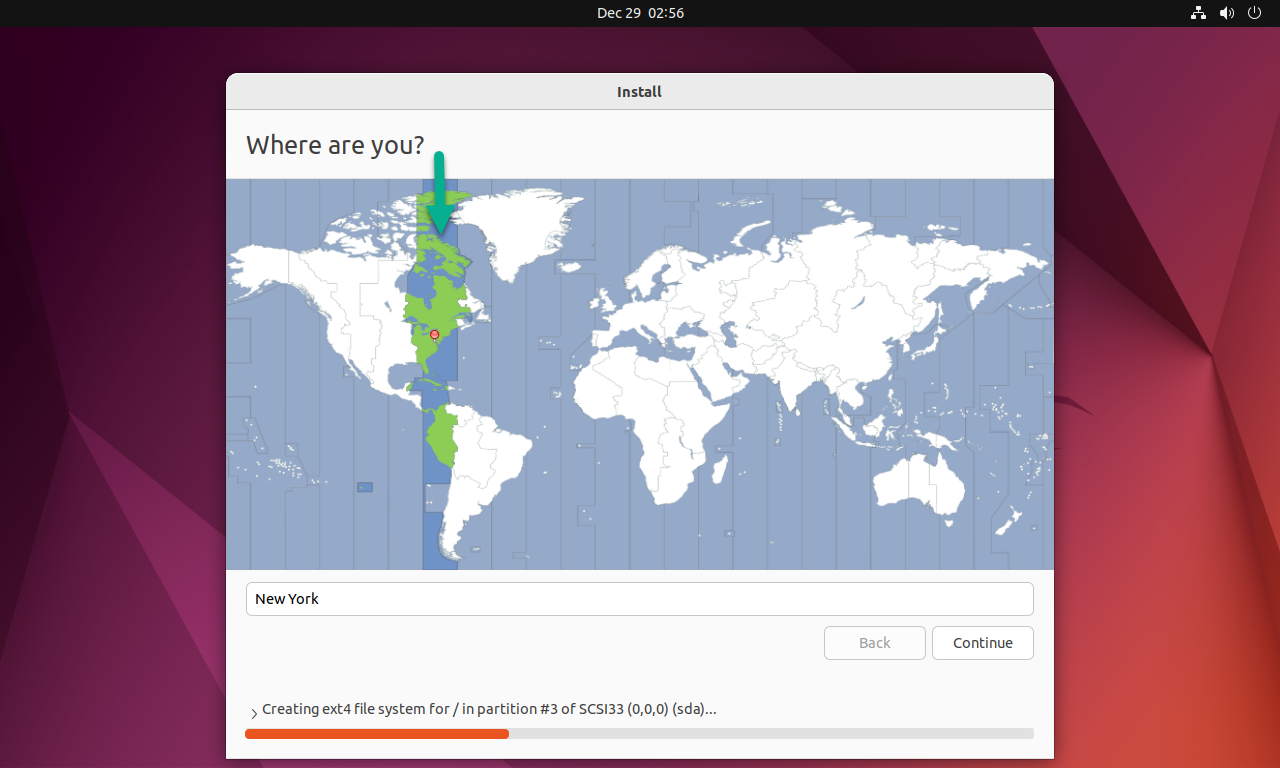
At this point, Ubuntu is going to start installing but we still have some settings we have to configure. On this screen is where you get to select your time zone. Since I am on the US east Coast I’m selecting the New York Time zone. If you need to select a different time zone you can either start typing it in the text field or select the correct location on the map.
When you have selected the correct time zone click the continue button.
On this screen you are going to create your account, this is going to be an admin-level account. In the first field, you can type the name of the account, in the second field this is where you get to select a name for your computer. The third field is the actual username for the account. In the next couple of fields enter and confirm your password. It is recommended that you select and require my password to log in for security reasons. Don’t worry about the use active directory button if you are joining this system to an active directory domain. Once this is all filled out go ahead and click the continue button.

Now we get to wait for the OS to finish installing.

Once Ubuntu finishes installing remove your thumb drive from your computer and click the “restart now” button.
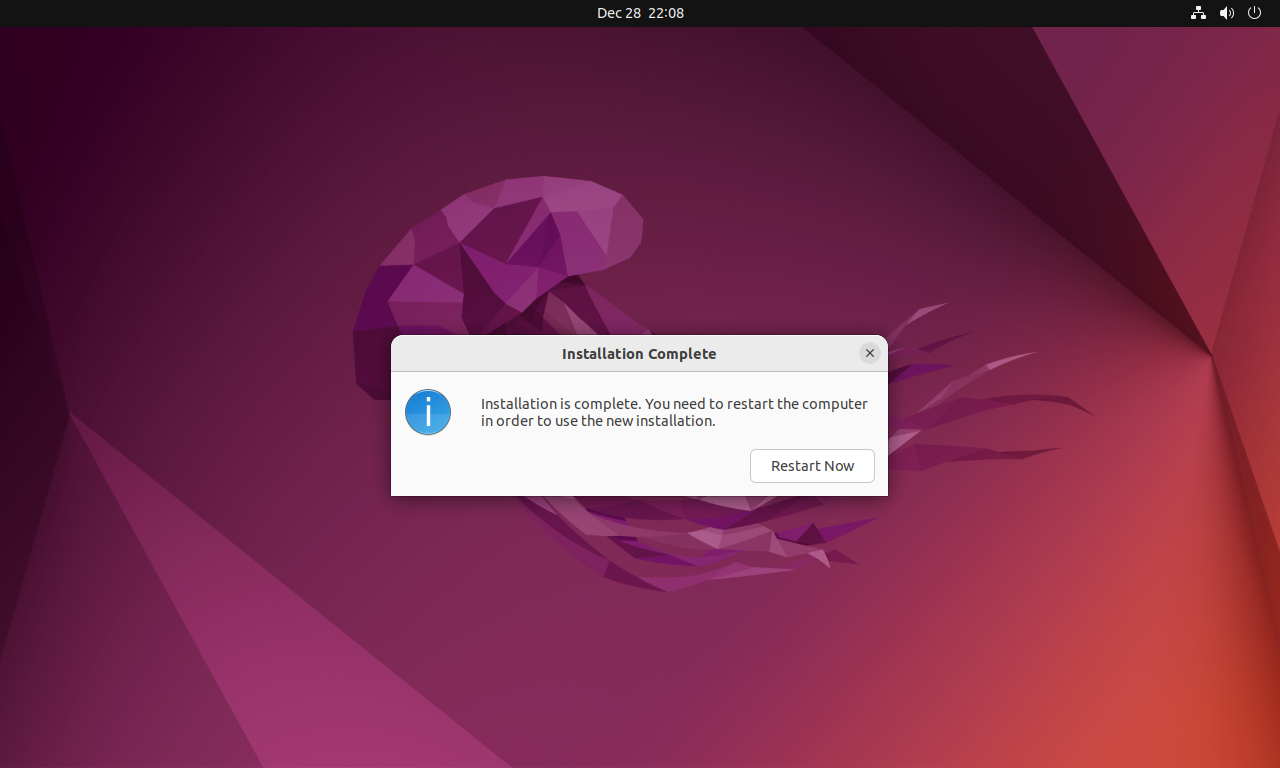
Your system will start to reboot and then you should boot up to the login screen.
Congratulations, you have just installed Ubuntu on your computer!
Happy computing!
Do you need computer help, book a remote session with The local Tech.